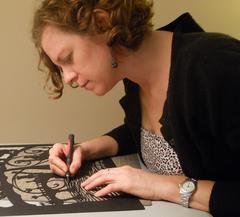
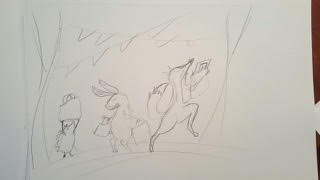
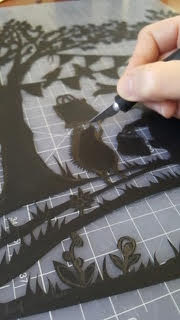
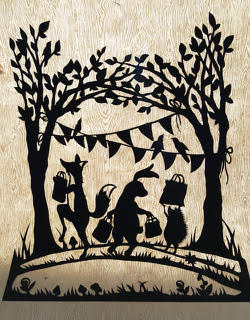
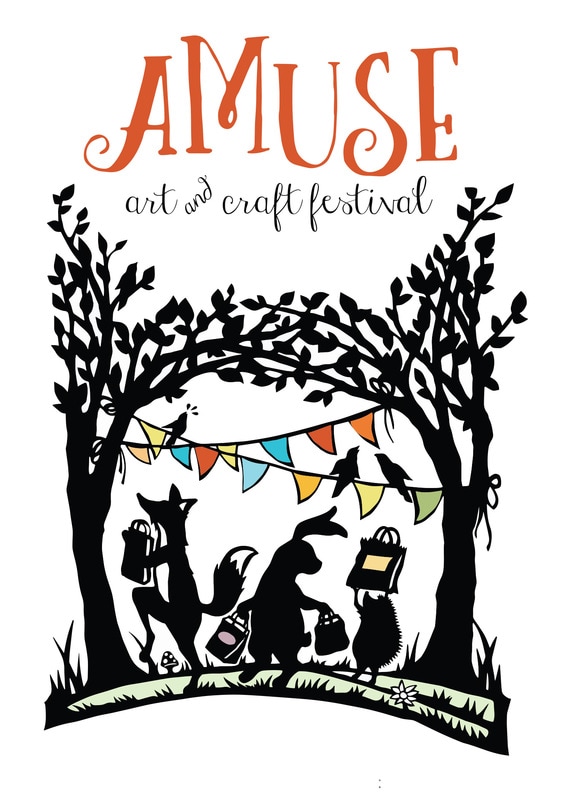
 Before I start a paper cut I first draw some sketches with various ideas for the silhouette art. I keep in mind what I want the art to convey and its purpose. When making a composition I really try and create a sense of movement, whimsy and express an emotion or feeling. The organizers for the Amuse Arts and Crafts Festival desired a poster design that portrayed shopping and a festive atmosphere as well as leaving room for the written information. We collectively decided on a hedgehog, a bunny and a fox all gleefully carrying shopping bags under a canopy of trees, bunting, and birds. After the final sketch was approved I drew the image on the back of the paper that was to be cut with a pencil. Once everything was drawn out I start cutting the negative spaces away. The tools I like to use include lots of disposable #11 knife blades that are inserted into a comfortable grip handle, a self healing cutting mat, a mechanical pencil with #9 lead, and a kneaded eraser. As far as paper goes I’ve worked with all sorts: rolls of Tyvek for larger projects, tissue paper, and my favorite paper is Strathmore or Canson with a paper weight of around 90lbs. I find that this weight is easy to cut and holds up well. I usually like to start in the middle of the paper then gradually cut my way out to the edges of the design. As I go I turn over the art and see it from the finished side, that way I can see the progress and if anything needs altered. Once the cutting is complete I turn over the art and make any final touches and attach it to the backing paper. For printing purposes I’ll take photographs of the art and reformat the size and add hints of color if desired. Sometimes the art is mounted up off the background in a shadow box so it will look three-dimensional. I have cultivated a line of greeting cards and prints using my paper cut images. They can be found at Tin Top gallery in Winchester VA and in various shops and galleries throughout the U.S. and on my website www.gocarrgo.com |

 RSS Feed
